We recently set up our 20 x 20 square pole tent for the first time. It was easy peasy. I want to include the process here on Mile Markers so I will have it when I need it in the future. It might be of help to others too.
Setting up a pole tent
I have used two rectangle tents in the past so the set up was similar. One thing I disliked about those tents was there was no concise method for measuring for the stake layout. The instructions said to lay the tent on the ground, stretch it into position and then measure out a certain distance and drive the stakes.
Setting up a square tent
I never did like that method. It allowed way too much room for error and the stakes were hardly ever as neat as I would have liked for them to be. Plus the tent was laying on the ground the whole time, inviting people to walk across it.
When I purchased my first round/oval tent from Miami Missionary Tent Company in 2012, I was thrilled to find they had conceived a method to measure the stake line from the center of the tent. It not only makes the stake line nice and neat, it allows for the stake locations to be marked and the stakes driven in the ground before the tent is even rolled out.
I was surprised that their square and rectangle tents do not have a process for laying out the stake line. They recommend the same haphazard method I had used with other rectangle tents.
Our round/oval tent has been up over 70 times so I have learned a few things about setting up tents. Throw in a little high school geometry and algebra and the recipe for cooking up a little plan for laying out the stake line was as good as finished.
I put the plan on paper and a few minutes later, the stake line was marked on the ground with orange paint and the tent was ready to go. Before I get to pictures of the tent going up, the plan for laying out the stake line is below or you can see the PDF.
Directions
for laying out the stake line for a Miami Missionary Tent Company 20 x 20
square tent.
Davy Boggs
-Laying
out the stake line in advance of set up allows all of this to be done before
help arrives. That way my help is not standing around waiting for me to figure
out where I want the tent set and where the stakes are to be driven
-I
use small ¼” x 12” rebar stakes as temporary marking stakes. I keep 6-7 on
hand.
-When
marking the stake line for a square tent, I use two reel type tape measures.
-I
mark the ground with fluorescent orange spray paint.
-For
marking purposes only, think of the stake line as a box with four corners
numbered 1, 2, 3, and 4.
1 A 2
3 4
1-First
decide about where you want the center of your tent, taking into consideration
the rise and fall of your tent site. Drive a small temporary stake at the
center location.
2-Measure
16’ from that center point toward the front of your tent (Between corner number
1 and 2. Drive a small rebar stake there. This will mark the center stake on
the front side of your tent. Let us call that point (A)
3-Measure
16’ from that center stake point (A) to corner
number 1. Drive a small stake at this corner number 1 location.
4-Place
your tape measure on this marking stake (1) and measure 32’ to corner number 2.
Use the small stake (A) you drove in step number
2 to help make the line between corner number 1 and 2 as straight as possible.
This is the beginning of making your tent square.
5-Place
a tape measure on corner number 1 and a tape measure on corner number 2 and
walk toward corner number 4. The placement of corner number 4 will be 45’3”
from corner number 1 and 32’ from corner number 2. Drive a small stake at this
point.
6-With
the tape measures on still on corner number 1 and corner number 2 and walk
toward corner number 3. The placement of corner number 3 will be 45’3” from
corner number 2 and 32’ from corner number 1. Drive a small stake at this
point.
(If you measured and marked correctly,
there should be 32’ between corner 3 and corner 4.)
7-Place
a tape measure between corner 1 and 4 and another tape measure between corner 2
and 3. Where these tapes cross in the middle will be where the center pole
should stand once the tent is in the air. I like to mark this point with paint
to assist during set up.
8-(A) marks the center stake between corners 1 and 3.
Place your tape between corners 2 and 3 and make a mark at the 16’ point for
that center stake. Repeat this all the way around the square. These marks are
for the rest of your stakes.
The method I came up with could easily be applied to square and rectangle tents of all sizes. All you would need to do is plug in the proper numbers, use a little algebra to figure the distance between corners and the plan would be ready to go.
With the 20' square tent there are only eight stakes, so the set up is relatively easy. I stood the center pole up by myself to make sure it could be done single handedly and it was no problem at all. I did have to have someone else steady the center pole while I snugged the straps.
With the 20' square tent there are only eight stakes, so the set up is relatively easy. I stood the center pole up by myself to make sure it could be done single handedly and it was no problem at all. I did have to have someone else steady the center pole while I snugged the straps.
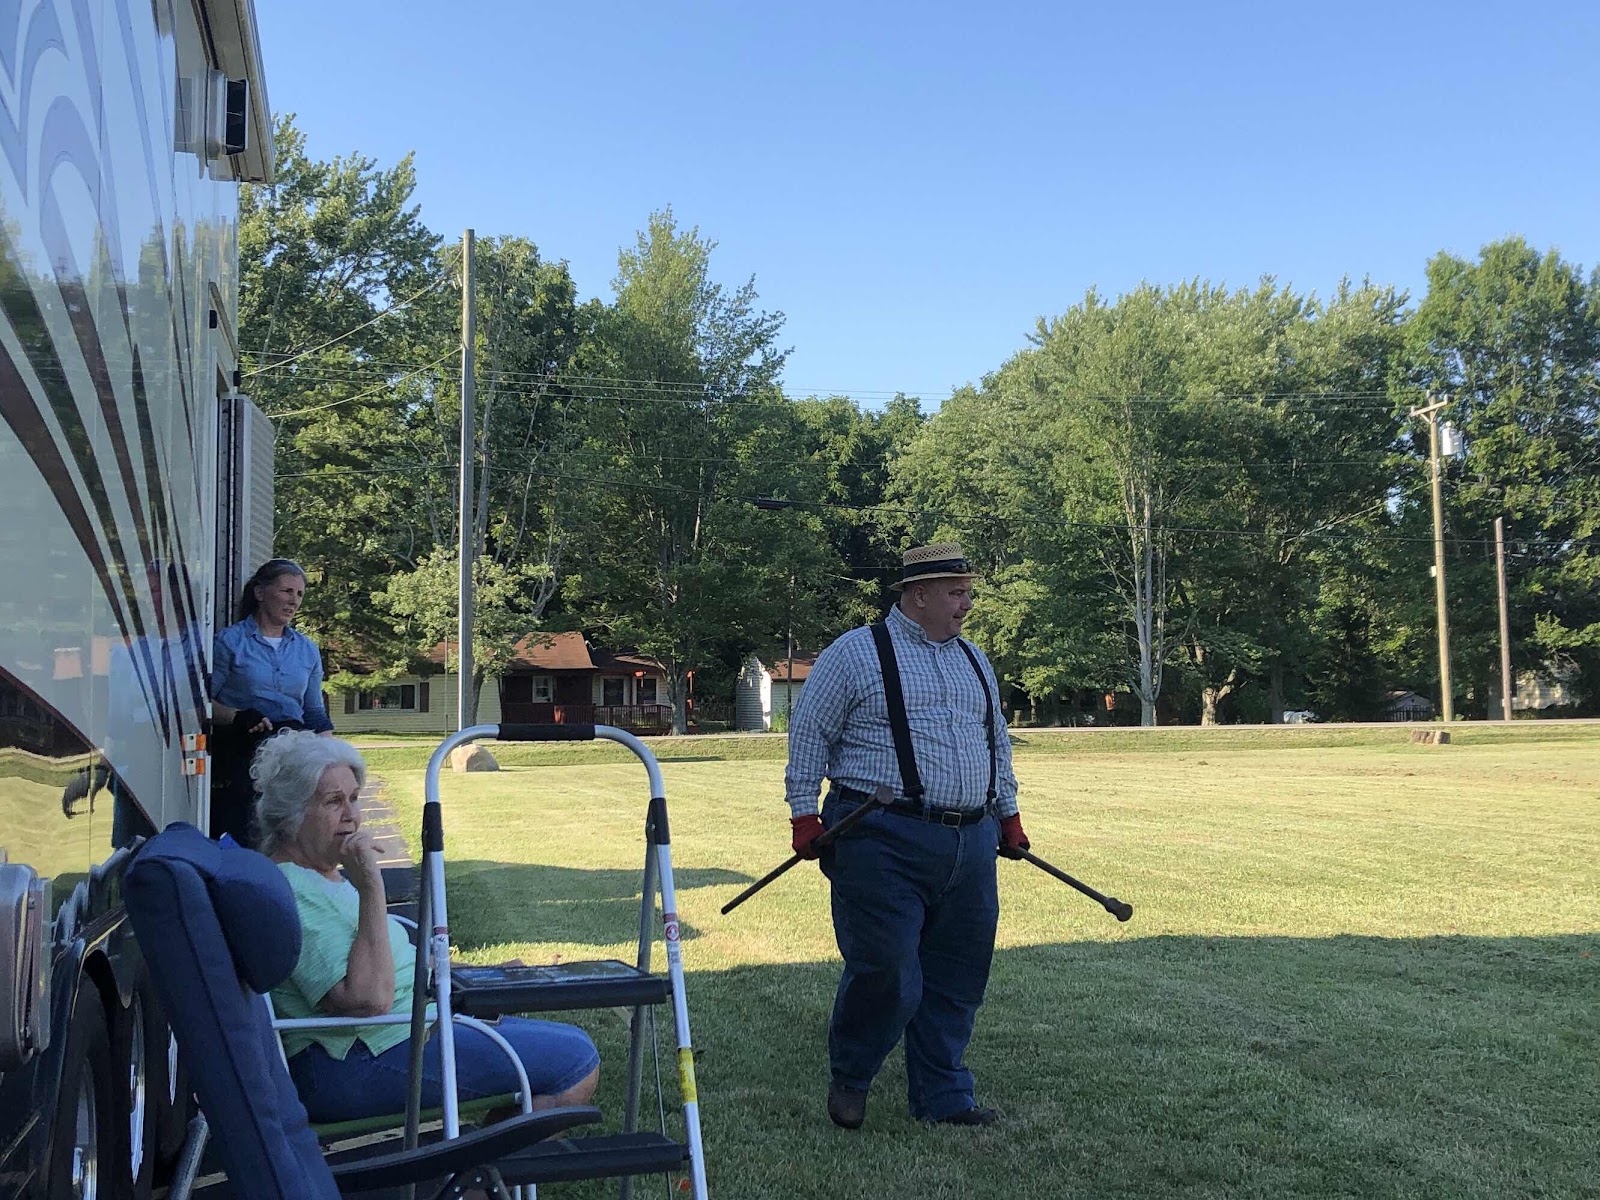
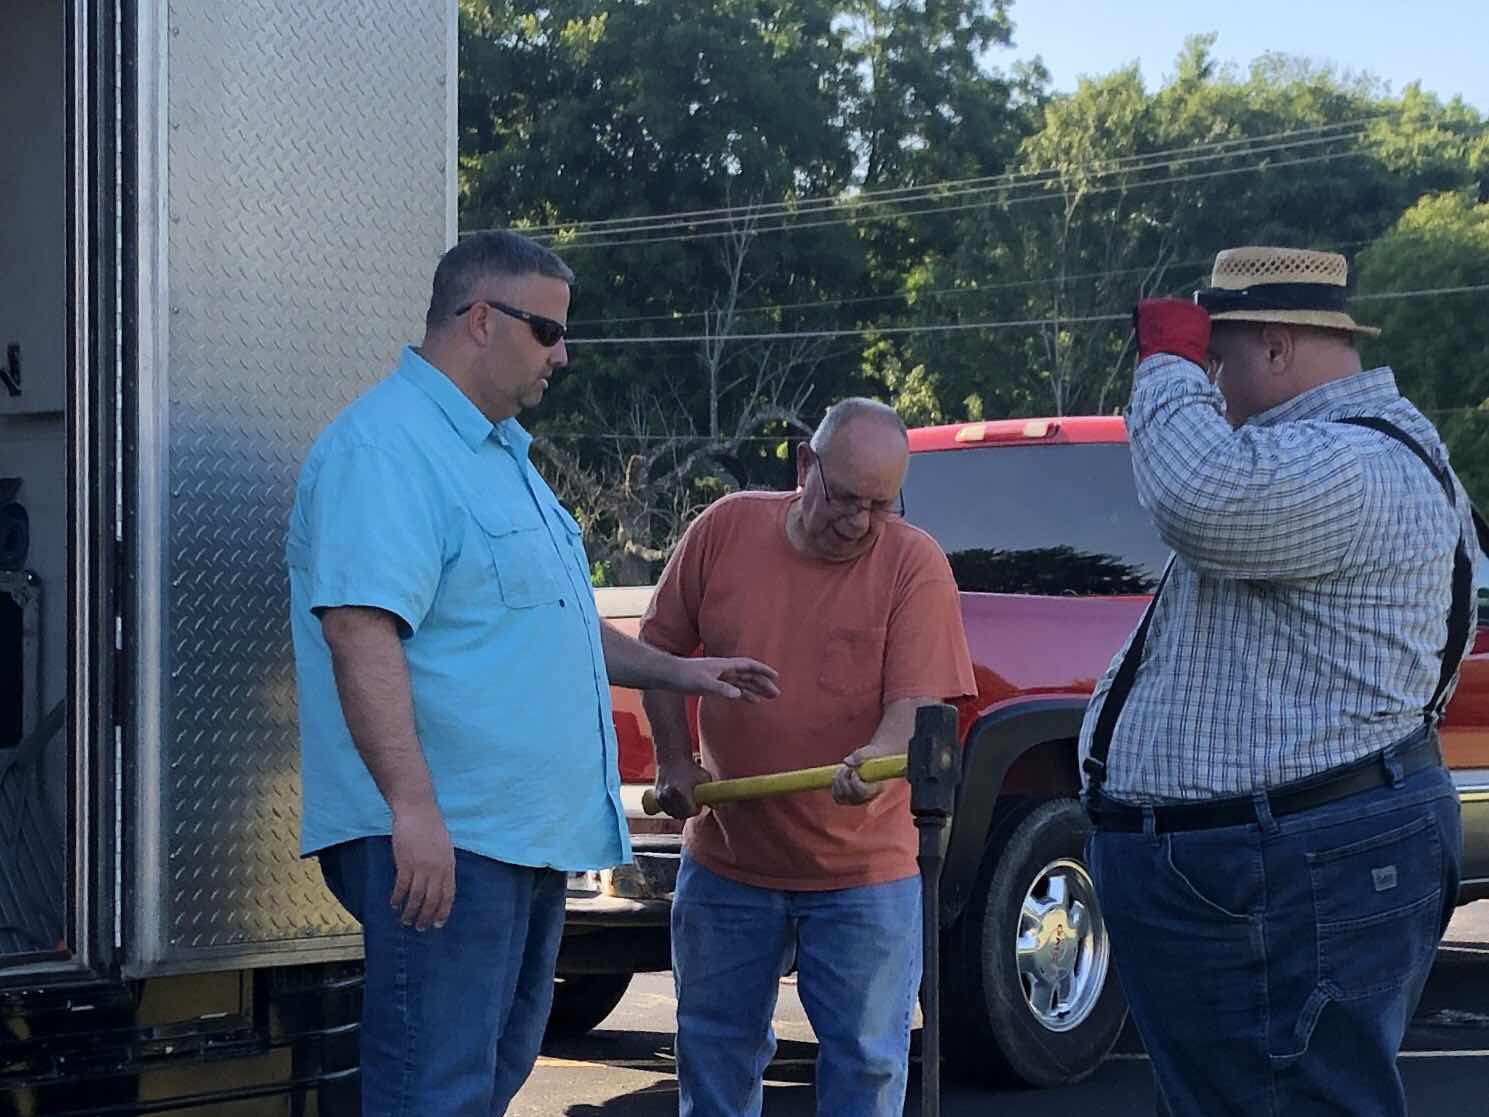
Here are a few pictures of the actual tent set up.
You might also be interested in how this tent survived hurricane force winds from a rescue helicopter landing 45' away. The video is at the bottom of the post.


There it is. Thank you for dropping by today.
Davy
You might also be interested in how this tent survived hurricane force winds from a rescue helicopter landing 45' away. The video is at the bottom of the post.


There it is. Thank you for dropping by today.
Davy